Transform Your Porch Into a Screened Oasis: A Complete Guide
Home & Living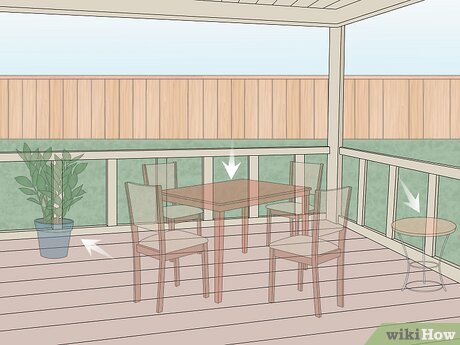
A screened porch is one of the most satisfying home improvements you can make. It gives you the joy of the outdoors without the bugs, wind, or harsh sun. The good news? With the right preparation and a little patience, this is absolutely a doable DIY project. Here’s everything you need to know.
Start With a Clean Slate
Before you touch a single piece of lumber, clear everything off your porch - furniture, plants, decorative pieces, all of it. You need an open, hazard-free workspace so you can properly assess what you’re dealing with. Once the porch is empty, give both the floor and ceiling a thorough cleaning. A clean surface makes it much easier to spot any cracks, damage, or structural quirks you’ll need to work around before installation begins.
This is also the perfect moment to install any ceiling fans or light fixtures you’ve been dreaming about. Always take care of ceiling wiring before any panels go up - trust us, you don’t want to redo that step later.
Building the Frame
The backbone of your screened porch is the frame, and it all starts with sill plates - horizontal lengths of pressure-treated wood (typically 2x4s) that run along both the floor and ceiling perimeter of the porch. These plates create the structural network that ties everything together. Use a framing square to ensure your corners are perfectly square as you install them, then add a second layer of untreated wood on top to give your interior trim a polished, professional base.
Next come the wall studs - vertical lengths of wood that run from floor plate to ceiling plate along the porch walls. If you’re attaching to wood, regular nails work great. For brick or masonry walls, you’ll need masonry screws or a masonry nail gun. When spacing your studs, keep in mind that most standard screens are three feet wide, so spacing studs three feet apart (measured center to center) will save you a lot of cutting headaches later.
Once the studs are in place, add your rails and balusters - the horizontal pieces that give the frame its stability. Use a measuring tape, chalk line, and level religiously here. Getting these straight and secure makes all the difference in the final look.
Hanging the Screens
Now for the satisfying part. Cut your screening material to fit each opening, leaving a little extra on all sides for wiggle room. Starting at the top center of each opening, use a staple gun to secure the screen, then work your way outward, smoothing and stapling at regular intervals. Keep the screen pulled taut as you go - any sagging will be very noticeable once you’re done.
Once stapled, use a utility knife to trim the excess material just outside the staple line for a clean edge. Then cover those staples with wood strips for a finished, polished look. Using wood screws instead of nails here is a smart move - it makes it much easier to remove a strip and replace a section of screen if it ever gets torn down the road.
The Finishing Touches
Paint or stain all the visible wood to match your home’s existing color scheme. This step ties everything together and makes your new porch look like it was always meant to be there rather than an afterthought.
Finally, sweep up, bring back the furniture and plants, and step back to admire what you’ve built. Your screened porch oasis is officially open for business - evenings just got a whole lot better.